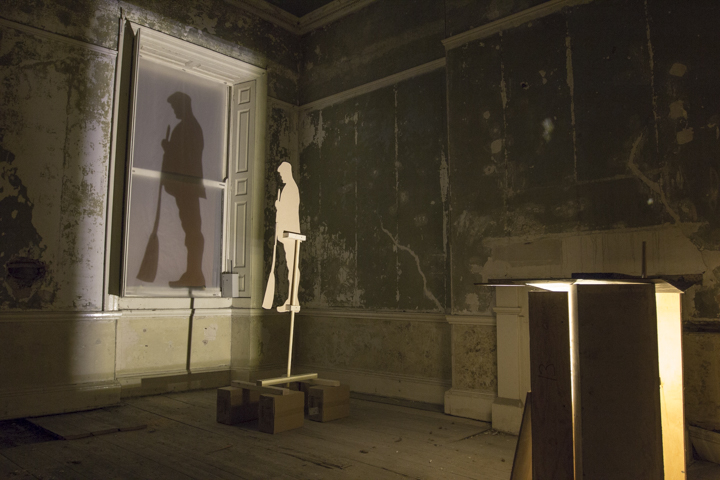
|
GLOW - interiors
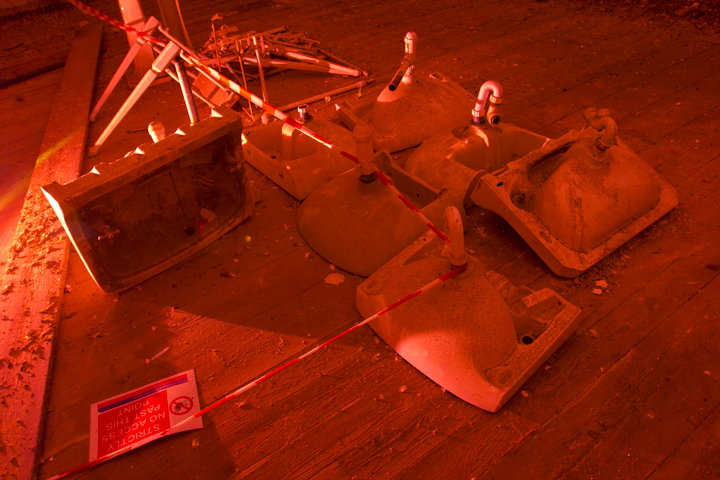
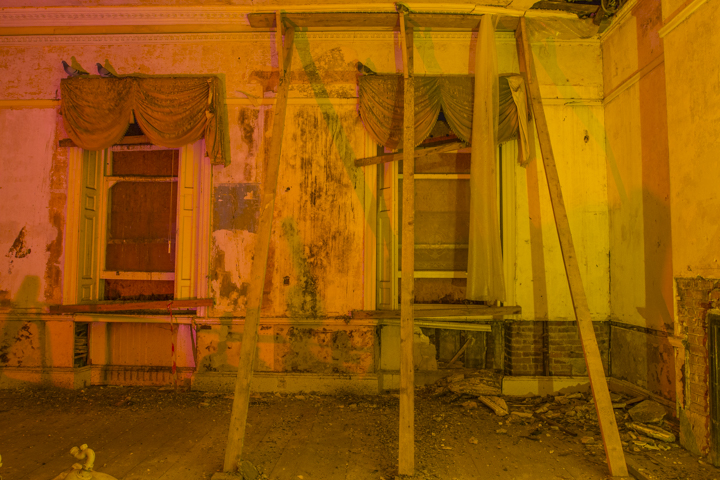
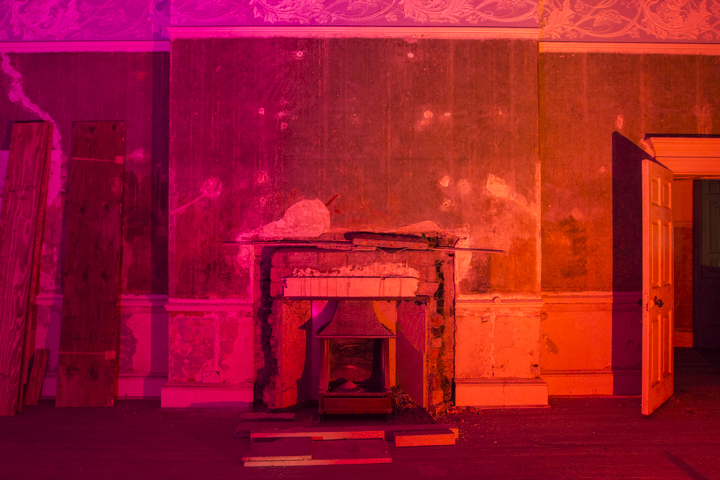
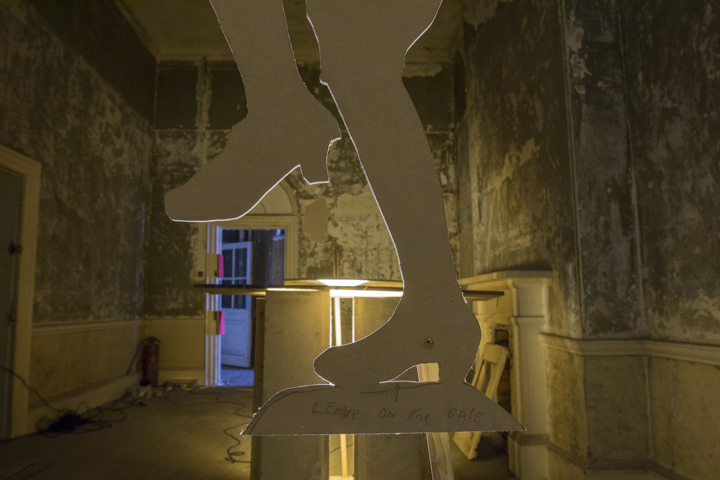
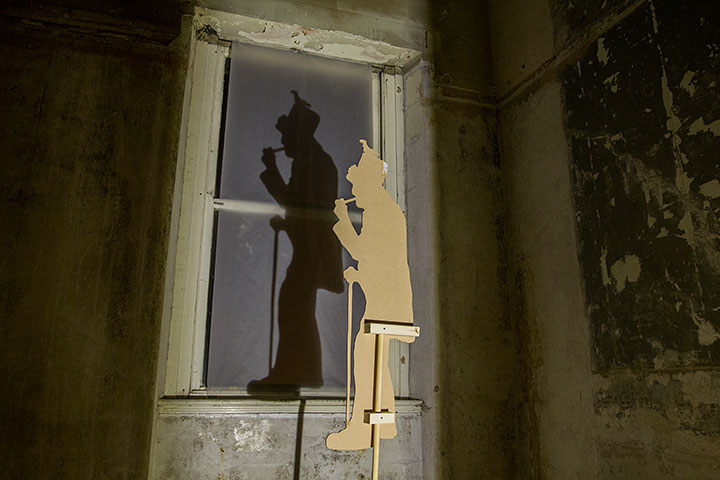
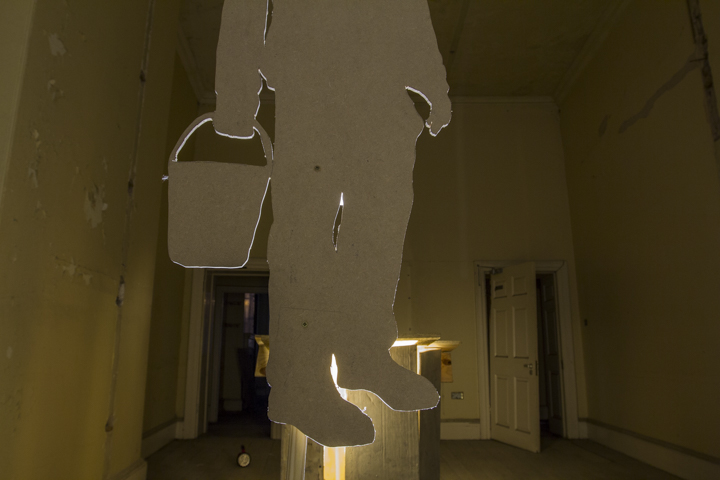
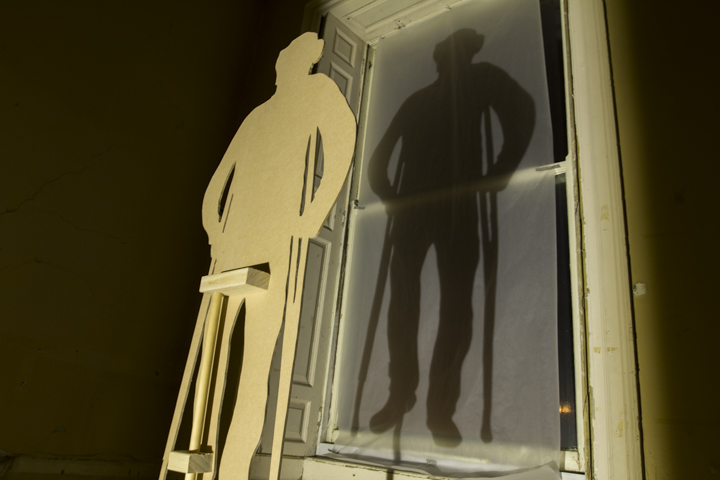
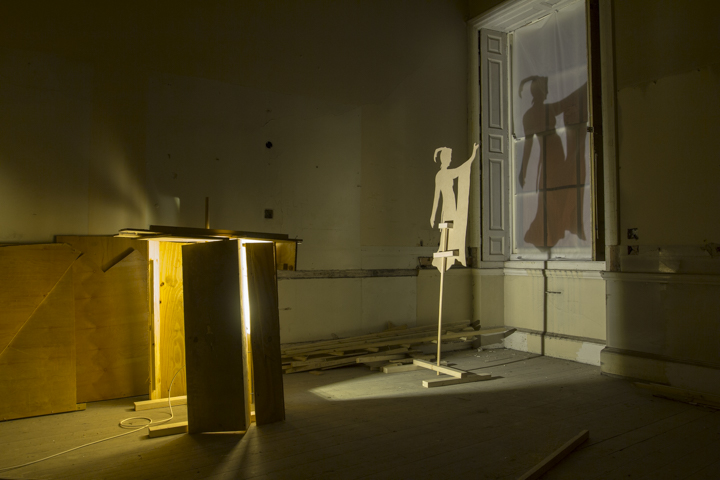
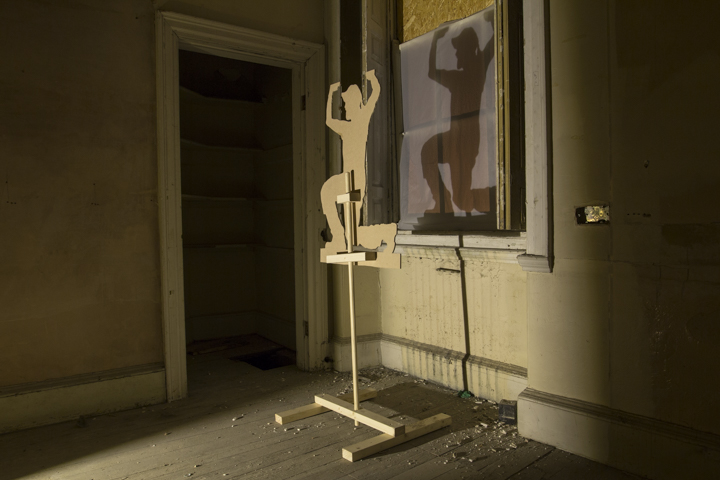
These images take you room by room across first floor of the Crescent's façade from the Private Lounge of the St Anne's Hotel to the Old Assembly Rooms.
Interiors / Silhouettes / Behind The Scenes
|
| ![1](images/images_crescent_glow/glow_light/glow_light_hotel_sinks.jpg)
St Anne's Hotel - lounge |
![1](images/images_crescent_glow/glow_light/glow_light_hotel_propped.jpg)
St Anne's Hotel - lounge |
![1](images/images_crescent_glow/glow_light/glow_light_hotel_fire.jpg)
St Annes Hotel - dining room |
![1](images/images_crescent_glow/glow_light/glow_light_flapper_detail.jpg)
Lodging House 1a - detail
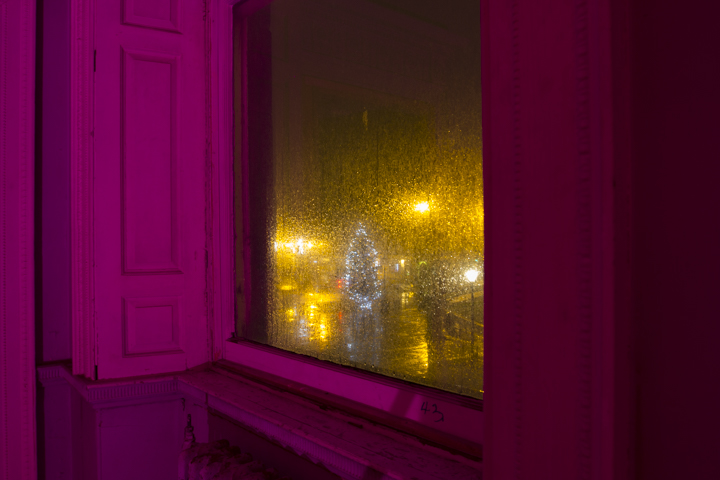
|
![1](images/images_crescent_glow/glow_light/glow_light_curling.jpg)
Lodging House 1b |
![1](images/images_crescent_glow/glow_light/glow_light_curling_detail.jpg)
Lodging House 1b - detail |
![1](images/images_crescent_glow/glow_light/glow_light_umberella.jpg)
Lodging House 1c |
![1](images/images_crescent_glow/glow_light/glow_light_green_door.jpg)
Lodging House 2b & C |
![1](images/images_crescent_glow/glow_light/glow_light_birdman.jpg)
Lodging House 3a |
![1](images/images_crescent_glow/glow_light/glow_light_tempting.jpg)
Lodging House 3b |
![1](images/images_crescent_glow/glow_light/glow_light_major.jpg)
Lodging House 4a |
![1](images/images_crescent_glow/glow_light/glow_light_green_floor.jpg)
Lodging House 5b & c |
![1](images/images_crescent_glow/glow_light/glow_light_bucket_detail.jpg)
Lodging House 6a |
![1](images/images_crescent_glow/glow_light/glow_light_crutch.jpg)
Lodging House 6c |
![1](images/images_crescent_glow/glow_light/glow_light_festival.jpg)
Lodging House 7b |
![1](images/images_crescent_glow/glow_light/glow_light_atlas.jpg)
Lodging House 7c |
![1](images/images_crescent_glow/glow_light/glow_light_stairs_red.jpg)
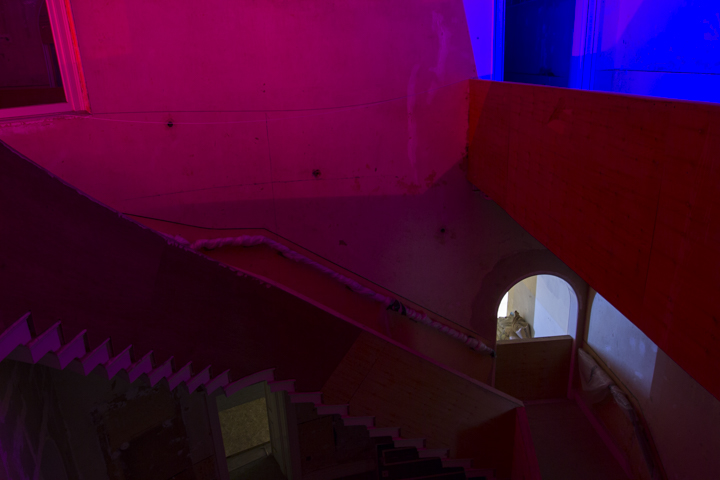
Assembly Rooms - Staircase |
![1](images/images_crescent_glow/glow_light/glow_light_card_tree.jpg)
Assembly Rooms - card room |
|